Undelete files from NTFS with TestDisk
This Recovery example guides you through TestDisk step by step to undelete files from an NTFS file system. When a file is deleted, the data remains on the disk. Unless new data has overwritten your lost file, TestDisk can recover it.
- Do not further use the media (HDD, USB key, ...) on which the data stored have been delete until data recovery process is completed.
- It is highly recommended that TestDisk or PhotoRec recovers files on another destination media, at minimum on another filesystem.
- If seeked lost file are still missing, give PhotoRec a try. PhotoRec is a signature based file recovery utility and may be able to recover your data where other methods failed.
Start the undelete process
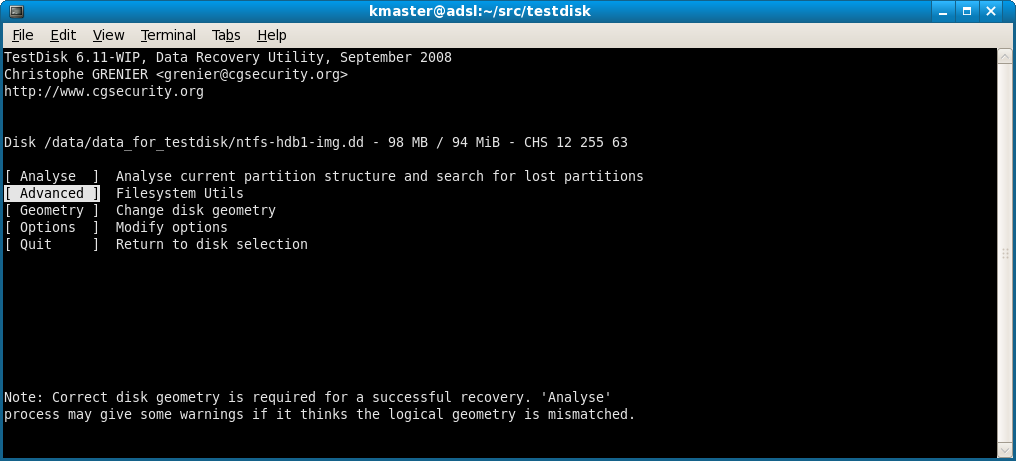
- Select Advanced
|
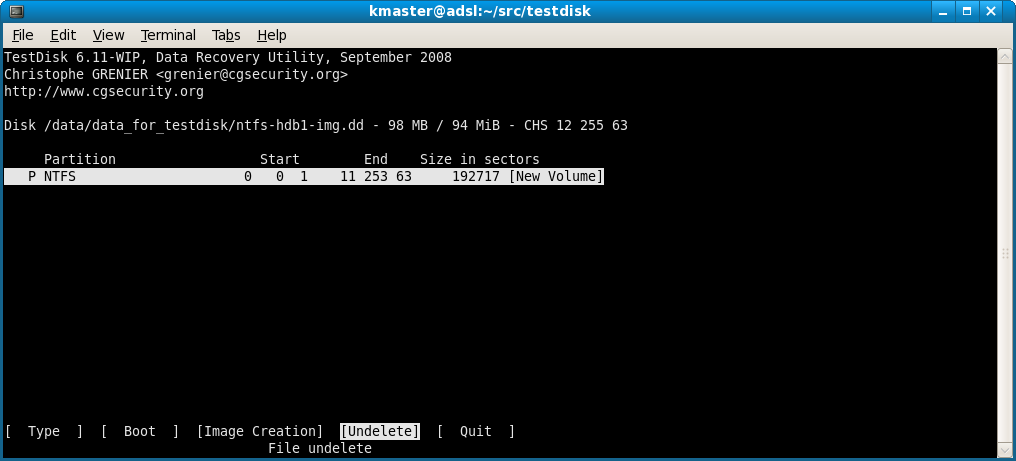
- Select the partition that was holding the lost files and choose Undelete
|
NTFS file undelete
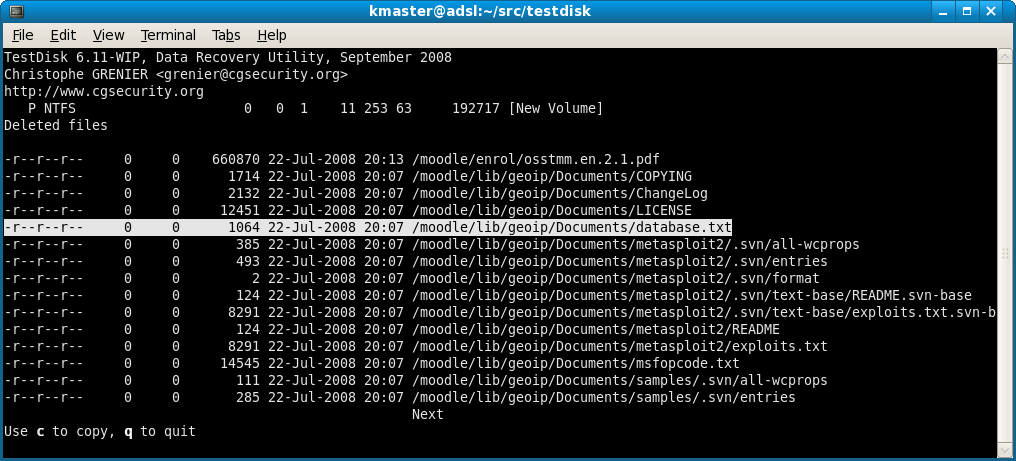
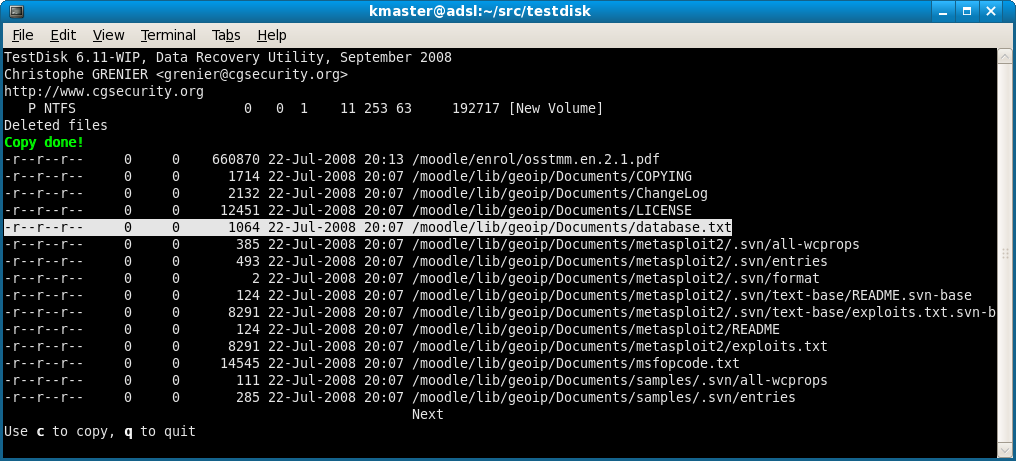
TestDisk scans MFT entries for deleted files. NTFS deleted files found by TestDisk are listed.
|
Choose the file to recover and press 'c' to copy the file.
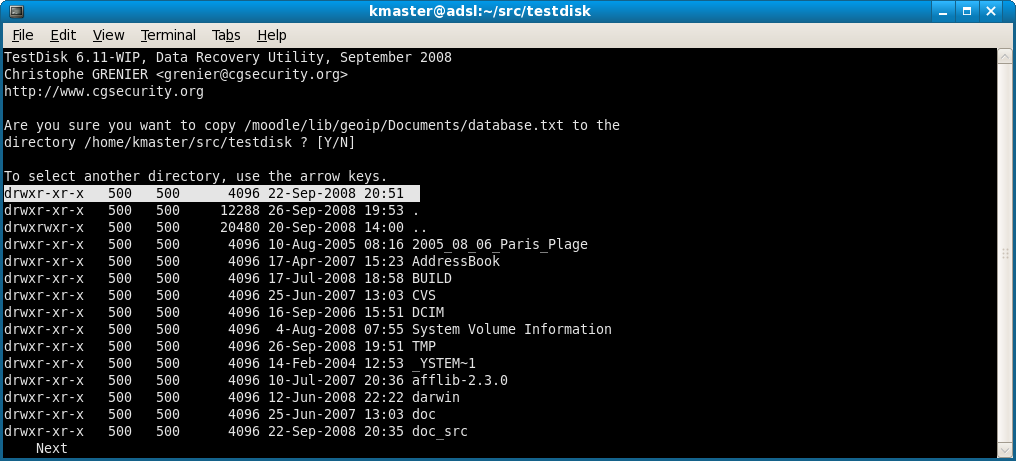
Select where recovered files should be written
Select the destination
|
Recovery is completed
When the NTFS file recovery is finished, choose Quit.
|
For maximum security, TestDisk doesn't try to unerase files but lets you copy the deleted files you want to recover on to another partition or disk. Be careful! Do not write anything on to the file system that was holding the data - writing new files may overwrite the files you want to recover.
TestDisk can undelete
- files from NTFS partition since version 6.11,
- files and directory from FAT12, FAT16 and FAT32 filesystem,
- files from ext2 filesystem.
If a lost file is still missing, give PhotoRec a try. PhotoRec is a signature based file recovery utility and may be able to recover your data where other methods failed.